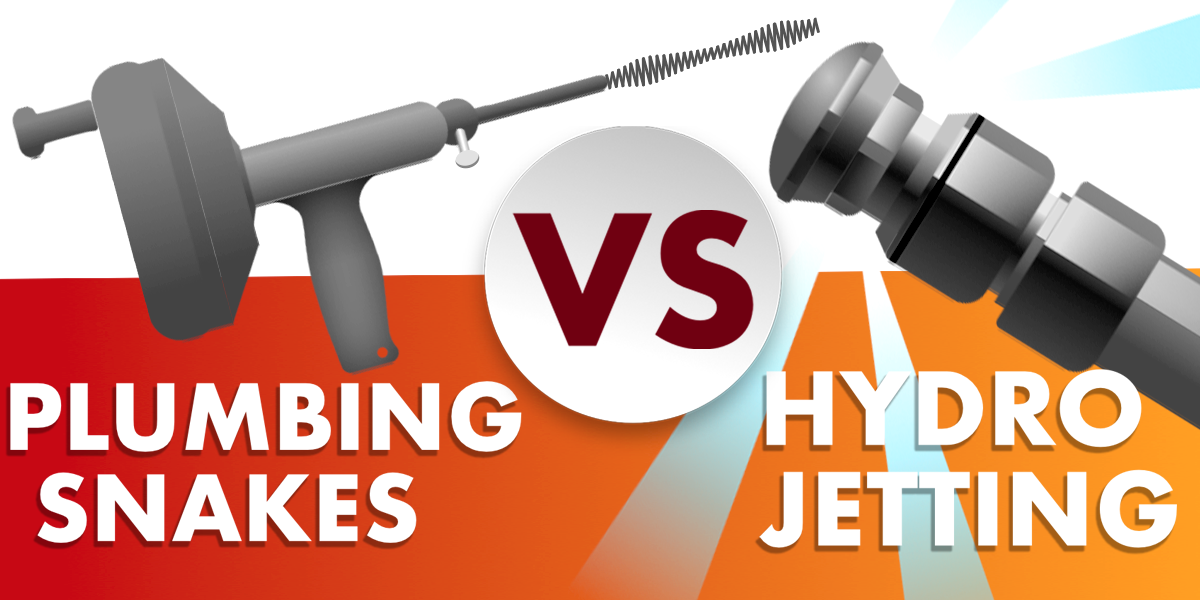
Both plumbing snakes and hydro jetting clear clogs from drainage pipes. However, there are some big differences in how that happens, the end result, and the cost.
While plumbing snake service might be as low as $50 for removing a simple clog, hydrojetting will usually set you back a few hundred dollars. Snaking also just pokes holes in sludge and debris in order to allow waste to flow. Hydro jetting, on the other hand, completely removes the debris. The line is flushed clean.
In this overview article we’re going to take a look at the basics of both hydro jetting and snaking. After you’ve read through it be sure to check out Hydro Jetting Pros and Cons for more in depth information on hydro jetting.
What Are Plumbing Snakes?
Plumbing snakes (also referred to as plumbing augers or drain augers) are long, flexible steel cables with a crank and something that looks like a corkscrew at one end. After the plumbing snake is inserted into a drain, it’s this corkscrew-shaped end that breaks through the obstruction.
When a plunger doesn’t work to unclog a pipe, the plumbing snake is the next method you should try. Never use chemical drain cleaners because they contain caustic substances that can damage your pipes.
How do you use a plumbing snake?
We’re going to explain how to use a straight, non-motorized plumbing snake on a kitchen drain. There are a couple of ways you can go about this. You can either insert the snake into the drain from above or you can go under the sink and remove the p-trap and possibly the trap arm as well. We’ll talk more about this in step two below.
Step 1 – Prepare your work area because this could get messy
Clear the area underneath the sink and place some towels beneath the pipe along with a tray to catch the small amount of water that will come out. You should also have a small bucket handy to dispose of the gunk.
Note: If you’re going to insert the snake into the drain from above you don’t need to worry about this step.
Step 2 – Let’s talk about p-traps and trap arms
As we mentioned, you can either insert the snake directly into the drain from above or remove the p-trap and possibly the trap arm as well . This explanation on how to use a plumbing snake will involve removing the p-trap.
First of all, let’s talk about these p-traps. If you look below your kitchen sink you’ll see a curved section of pipe. It’s curved for a reason. Water sits in the curve and prevents sewer gas from coming up through the pipe and into your home.
Look carefully and you’ll see it’s possible to remove the p-trap using either an adjustable wrench or just your hands.
The section of pipe connecting the p-trap to the wall is called the trap arm. You might be able to remove it by unscrewing the nut. If you don’t see a nut, the trap arm is probably glued to the wall. In this case, don’t touch it.
Step 3 – Remove the p-trap (and the trap arm, if possible)
You should be able to remove the p-trap using just your hands or an adjustable wrench.
Make sure you have the tray underneath to catch the water. Inspect the traps and clean out any gunk that’s inside.
Step 4 – Insert the plumbing snake
Now it’s time to gently insert the plumbing snake into the drain (you can run cold water while you’re doing this) or opening in the wall(no water for obvious reasons!).
Keep the crank handle close to the entrance point (you don’t want too much slack) and start turning it at an even, measured pace. When you encounter an obstruction you will feel resistance. Continue turning the crank handle so the auger can break up the obstruction.
If, at any point, you feel the plumbing snake is stuck in a clog, you can try pulling it back. Many times the clog will come with it.
Continue with this procedure until you no longer encounter obstructions and the snake has expanded to its full length.
Step 5 – Reassemble your sink components
If you removed the p-trap (and trap arm) go ahead and reassemble them now.
Step 6 – Run some water to check
If you successfully removed the obstruction, the water should run without pooling in the sink. If it’s still pooling, you can either repeat the snaking or call a professional.
Snaking a drain to remove an everyday obstruction like hair or grease isn’t that difficult and can usually be a DIY project. Just make sure you know how to properly use a plumbing auger.
If snaking doesn’t remove the obstruction, contact a sewer repair contractor. They will either come out and perform the snaking using a more powerful auger or use hydro jetting to clear the obstruction.
What is Hydro Jetting?
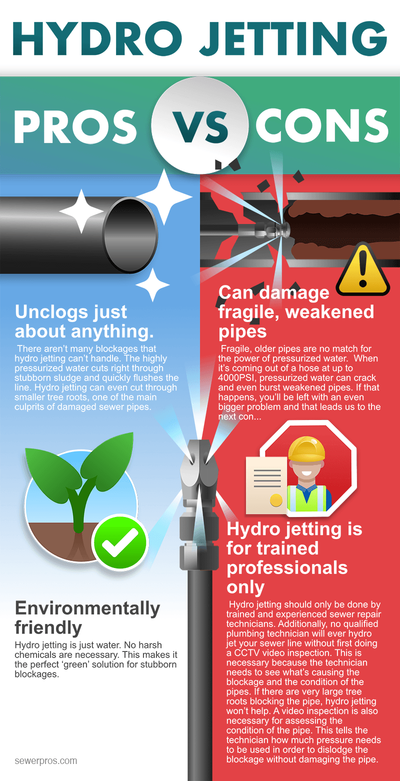
Hydro jetting removes obstructions in sewer pipes using just pressurized water. Water under high-pressure (up to 4,000 PSI) can cut through stubborn clogs in no time flat and that includes blockages that snaking couldn’t touch.
Yes, hydro jetting unclogs sewer pipes just like snaking. However, it goes a step further and actually cleans the inside of the pipe. The highly pressurized water gets rid of everything clinging to the pipe’s walls. It’s very thorough.
Unlike snaking, hydro jetting is not a DIY project. Pressurized water is extremely powerful and can damage pipes if used incorrectly. So, leave this one for the professionals.
How does hydro jetting work?
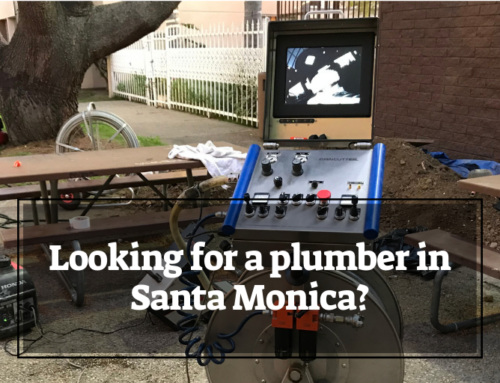
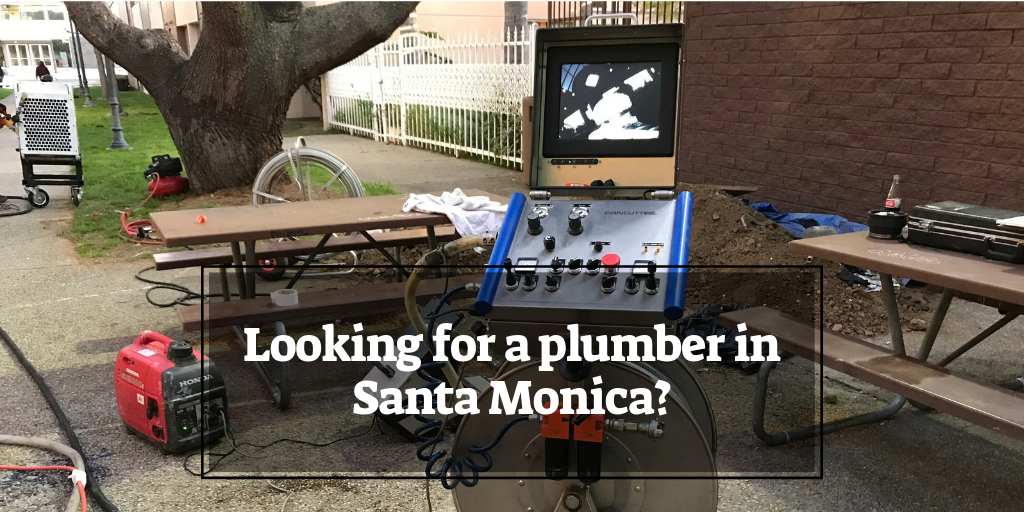
First, a video inspection
This is necessary because the plumbing contractor needs to know what’s clogging the pipe and where exactly the obstruction is located. A video inspection is also necessary in order to assess the pipe’s condition. Water under pressure can damage and even fracture frail pipes. If the pipe is collapsed, hydro jetting obviously isn’t a solution. The pipe will need to be replaced instead.
A few words about nozzles and how they’re used
When it comes to nozzles, one size does not fit all. In hydro jetting there are nozzles that penetrate blockages, flush the inside of the pipe, maneuver around tight corners, clean the pipe’s interior, break up debris, chew through roots, remove sand and mud, etc. We have an entire page devoted to hydro jetting nozzles and how they’re used.
The hydro jetting process
First, the clogged pipe needs to be accessed via something called a “cleanout”. A cleanout is just a section of pipe with a cap on it. It provides easy access to the sewer system.
The cleanout cap is removed and the hydro jetting nozzle is inserted into the pipe. The nozzle is attached to a hose which is attached to the machine creating the water pressure.
The hydro jetting machine is turned on and pressurized water shoots down the pipe and quickly flushes away any obstructions.
Experienced sewer repair professionals know just how much pressure is needed to remove an obstruction without damaging the pipe.
A few final words about hydro jetting…
Hydro jetting is a good option if manual snaking doesn’t work to remove an obstruction. However, pressurized water really packs a punch and can damage older pipes if it isn’t handled carefully. This is why hydro jetting isn’t a DIY project. Only a trained and experienced hydro jetting professional has the skill necessary to remove an obstruction without damaging the pipe. In fact, older, fragile pipes may be ineligible for hydro jetting due to their condition. In these cases, manual snaking may be the only option to remove blockages.
We’re Sewer Pros, a licensed and insured sewer repair and replacement contractor serving both Los Angeles and Orange counties. If you have a clogged sewer line, call us today at (800) 481-3707. We’re open 24/7/365!


Leave A Comment